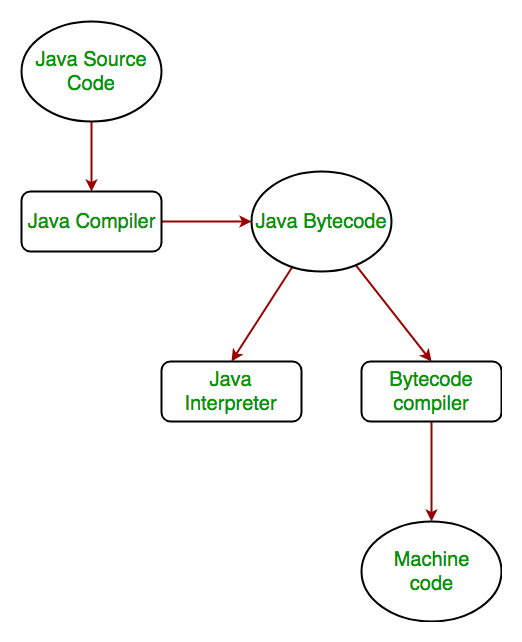
The Java platform is
distributed as the Java Runtime Environment (JRE), which contains the JVM, a
browser plugin for running applets, the standard class library, and a few other
items. You will need both the JRE and a JDK in order to develop and run Java programs.
The JDK download from Oracle includes the JRE
and the basic development tools required to begin developing, debugging, and
monitoring your applications in Java. At the time of this writing the most
current version of the JDK is Java SE 8u45.
Platform compatibility
The
JDK is available for 32-bit/64-bit Linux, 64-bit Mac OS X, 64-bit Solaris
SPARC, 64-bit Solaris, and 32-bit/64-bit Windows platforms.
Under this blog post, I will show you how to install JAVA on Windows Platform in step-by-step process.
1 – In order to install JAVA JDK ( Java Development Kit ) first, we have to download it. Click on the link to download.

2- Choose your operating system and download the JDK file. Follow the steps to install the Java JDK, it’s quite easy.

3- Let’s check if the Java is working or not. Press Windows + R to open Run, Type CMDto Open Command Prompt. Type Javac to check if it’s working or not.


4- As you can see, it’s not working.
5- To make it work, we need to set path. Search ‘Environment Variables‘ and open it.

6- Click the on the Environment Variables Button.

7- Select and Edit Path.

8- Select Edit new text.
9- Now open the JAVA JDK\bin and copy the path. Paste the path right after the semicolon. Now open the JAVA JRE\bin and copy the path. Insert semicolon before pasting the path.

10- Path is all set. Let’s see if it’s working or not. Open the Command Prompt and type Javac

11- Java is working now

No comments:
Post a Comment